Introduction and Background.
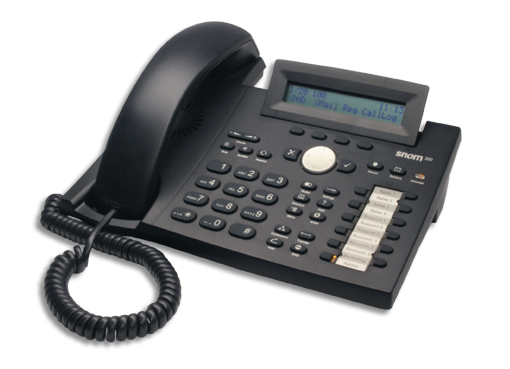
This ‘How to’ guide will guide you through setting up a snom phone for an IP-PBX or SIP Based Telephony Service.
When you first plug in your snom 3xx IP Phone it will show some information on the LCD screen one being the MAC address the other being the IP address, please make a note of the IP address as you will need this later.
Once the phone has started up from factory defaults it should be asking you for the time zone, dont configure this on the phone, instead load up a web broswer and asuming that the phone is on the same network as the computer enter the IP address of the phone, you should be presented with a Web Admin configuration screen for the snom.
we are going to consentrate on only 2 pages ‘Identity 1’ and ‘advanced’ and will only go as far as getting it registered with a SIP service/PBX and set the time on the phone, you can then play with the other settings or refer to the snom wiki for more details on the settings and what they do.
Configuration.
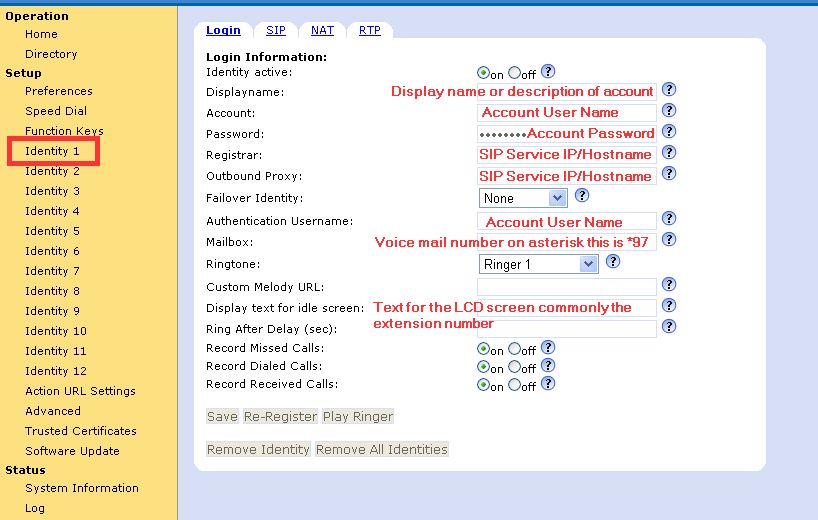
Right now to the configuration of the phone, click on Identity 1, and you will see some basic information about account details etc.
make sure you know what the Username, Password, SIP Server IP and Voicemail Number, for your SIP account is, you can get these from either your Service provider or your IT/Phone technical support personal.
Enter all the information on the Identity 1 screen as shown below and click on save then Re-Register.
Next we will configure the time and date so that its picked up from an external time server, click on advanced, and enter uk.pool.ntp.org as the NTP service name, this will make sure the time is always up to date, click on save and restart the phone when it started back up the phone should be configured and you should be able to make and receive calls.
