 Note: This guide is for information purposes only. If you require assistance with a trunk provided by Gamma Telecom, please contact Gamma directly for assistance. If you are planning to integrate with a VoIP Provider within the Supported Providers List, please visit this page.
To obtain reliable connectivity with a VoIP Connection from Gamma Telecom (in the UK), you will need to have 2 Network Interface Cards (NIC) installed on the 3CX Phone System machine.
Configure your Windows Network
- Set the first NIC with a Public Wide Area Network (WAN) IP Address. Rename this NIC to “WAN Connection”
- Set the second NIC with a Private Local Area Network (LAN) IP Address within the same subnet as the phones which will be using 3CX Phone System. Rename this NIC to “LAN Connection”
- From your Windows Start Menu, go to “Control Panel – Networking – Advanced”. Set the NIC named “WAN Connection” as the primary NIC
Configuring the Gamma Trunk on 3CX Phone System
- Open the 3CX Management Console
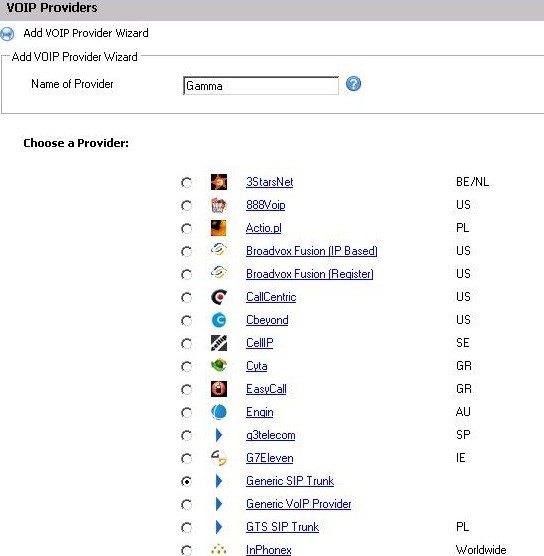
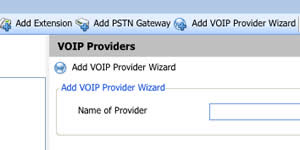
- Click on the “Add – VoIP Provider” menu option
- Set the “Name of Provider” field to (for example) “Gamma”
- From the list of providers, select the “Generic Sip Trunk” option and click the “Next ” button at the bottom of the page
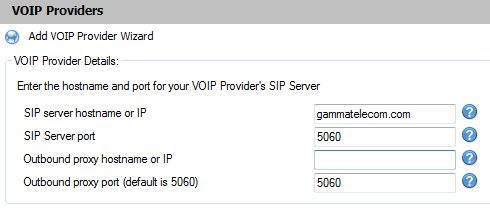
- In the “VoIP Provider Details” section:
- Set the “SIP server hostname or IP” field to “gammatelecom.com”
- Press the “Next ” button at the bottom of the page
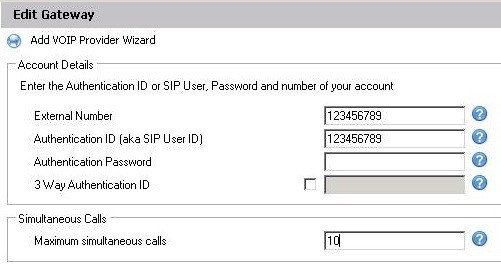
- In the “Account Details” page:
- Set the “External Number” field to the number Gamma have assigned to you
- Set the “Authentication ID” field to the Authentication ID that Gamma have assigned to you (If you do not have one, populate this field with the same number you used for the “External Number” field)
- Leave the “Authentication Field” Blank
- Set the “Max simultaneous calls” field to be the number of simultaneous calls you have been assigned by Gamma for your trunk
- Press the “Next ” button at the bottom of the page
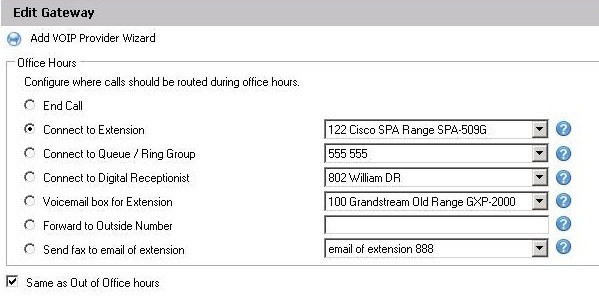
- In the “Office Hours” page:
- configure where the calls should be routed during and outside office hours
- Press the “Next ” button at the bottom of the page
- The next page gives you the opportunity to configure an outbound rule for this trunk. If you would like to design a more comprehensive list of outbound rules to cater for your particular scenario, you can “Skip” creating the rule, and refer to this document.
