REPOSTED FROM : http://support.firecore.com/entries/387605-jailbreaking-101-seas0npass
Seas0nPass supports a tethered jailbreak of the current 4.4.4 (iOS 5.0.1 – 9A406a) software or an untethered jailbreak of the previous 4.3 (iOS 4.3 – 8F455) software.
The current version of Seas0nPass will default to an untethered jailbreak for the 4.3 (iOS 4.3 – 8F455) version. An untethered jailbreak means the steps listed under the “Using Seas0nPass for a tethered boot” section are not required. Details on using Seas0nPass to perform a tethered jailbreak of the new 4.4.4 (iOS 5.0.1) AppleTV software can be found here.
Download Links
Seas0nPass for Mac [10.6 or later]
Seas0nPass for Windows [XP or later]
Video tutorial
Troubleshooting tips
Pre-launch checklist
- Latest version of iTunes.
- Latest version of Seas0nPass (use links above).
- A micro USB cable.
- Disconnect any iPods, iPhones, and iPads from your computer.
Using Seas0nPass to jailbreak the AppleTV
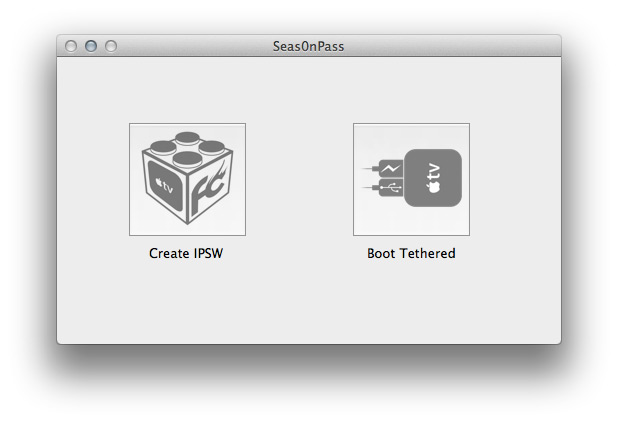
Step 1: Unzip the ‘Seas0nPass.zip’ file and launch Seas0nPass.

Step 2: Select the ‘Create IPSW’ button to start the jailbreak process.
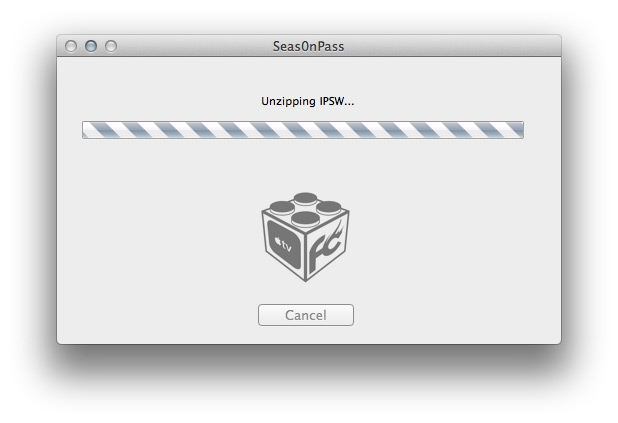
Step 3: The latest AppleTV software will be downloaded and used to create a custom ‘jailbroken’ software file.
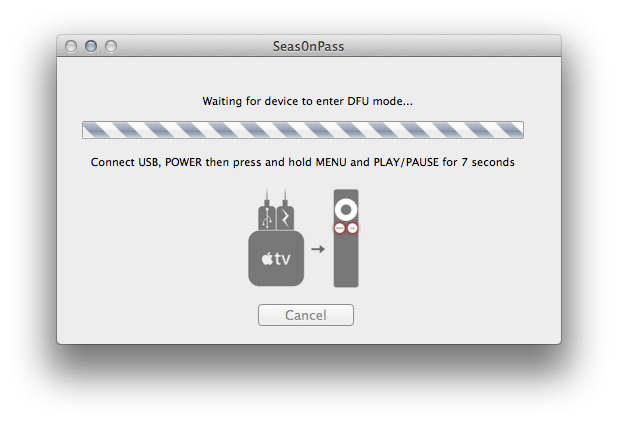
Step 4: When prompted, connect your AppleTV to your Mac/PC using a micro-USB cable (leave power cable disconnected).
Once the light on the front of the AppleTV begins to flash rapidly, point the remote at the AppleTV and hold both the MENU and PLAY/PAUSE buttons for 7 seven seconds.
Note: This step will require the silver (aluminum) AppleTV remote that was included with the ATV2. The older, white (plastic) remotes will not work.

Step 5: iTunes will open automatically and start the restore process.
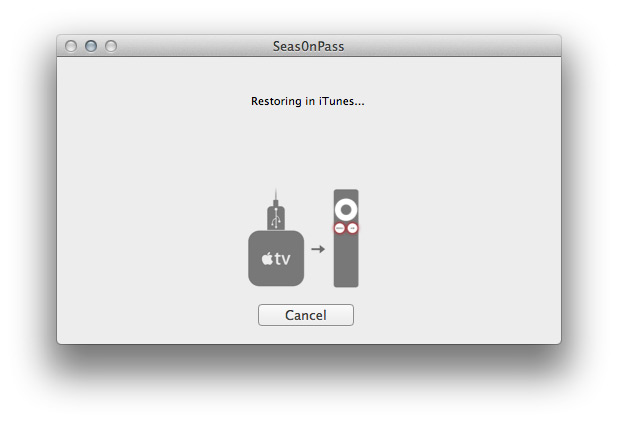
Step 6: iTunes will confirm the restore when complete – your AppleTV is now jailbroken!
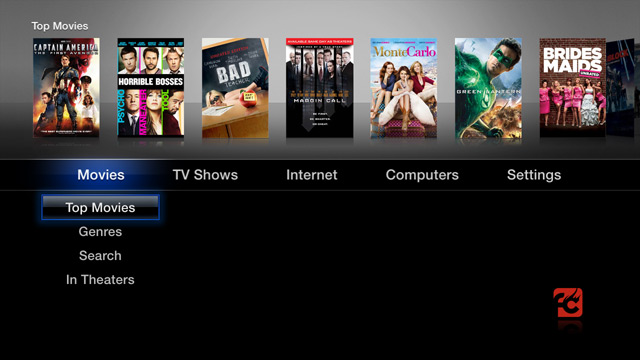
Note: To confirm the jailbreak was successful a (temporary) red FC logo will appear in the lower right corner of the screen – as shown below.
Using Seas0nPass for a ‘tethered boot’
Some AppleTV software versions require a tethered boot. This means the AppleTV must be connected to a computer for a brief moment during startup.
Note: The tethered boot steps described below are required only if updating to AppleTV 4.4+ and are not required for the 4.3 version.
Note 2: The AppleTV MUST be disconnected from the computer (for at least a brief moment) after restoring in iTunes for the tethered boot process below to work properly.
Step 1: Open Seas0nPass and select the ‘Boot Tethered’ option.
Step 2: When prompted, connect the AppleTV to your computer via USB. Wait for the rapid flashing light then connect the power. Once both are connected hold both the ‘MENU’ and ‘PLAY/PAUSE’ buttons for 7 seven seconds.
Step 3: Seas0nPass will complete the tethered boot automatically. Once complete, remove the USB cable and connect the HDMI cable.
Note: Timing is key. Once the you receive the success message shown below, the USB cable should be removed and HDMI cable connected before the light on the front of the AppleTV stops flashing. (Don’t worry there is ample to do this, so you don’t need Superman speed).
