Figured I’d start a short series on the powerhouse window manager that is Openbox!
I’ve recently become an Openbox refuge as Gnome 3.2 is still just too buggy for me. Even though I’ve come from a very “functional” desktop (Depends on your opinion), I find that Openbox is a VERY flexible and powerful window manager. You can very easily make it what you want it to be.
During this segment I’ll show you how to get Openbox installed with it’s basic configuration/looks (as seen below) and quickly cover some utilites that make customization a bit easier.
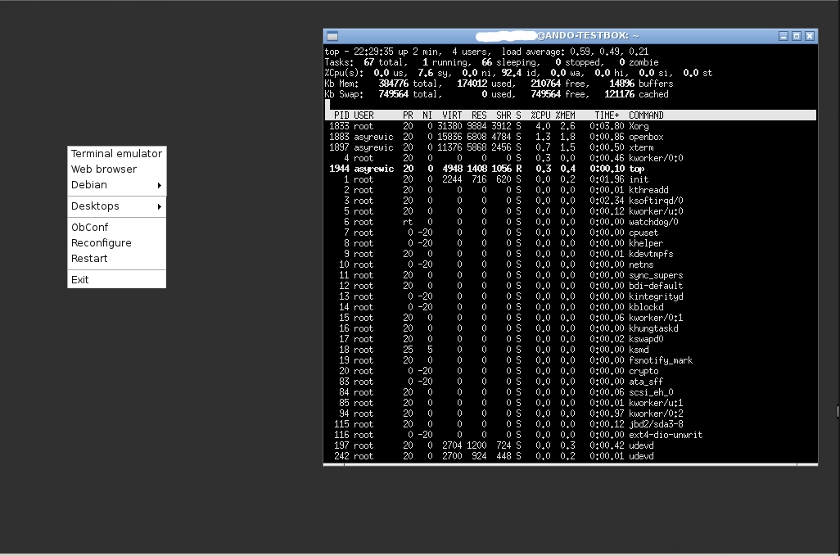
Openbox “Out of the Box” config and looks
The above image is vanilla openbox with the menu open (achieved by right-clicking on the desktop) and xterm running. Overall it’s consuming around 170MB of memory, which is good news for lower end PCs, or servers with a lot of resource overhead where a basic GUI is still desirable.
I know it doesn’t look like much now, but you can easily tailor the toolset and looks to your liking as I have in a recent forum post of mine here.
This basic install can be achieved on most distros using the built in package manager.
Openbox can be install on Debian (and similarly on Ubuntu and it’s derivatives using sudo) by running the below command in a shell.
apt-get openbox obmenu obconf
Obmenu and Obconf are two basic configuration utilities that are shown in the images below.
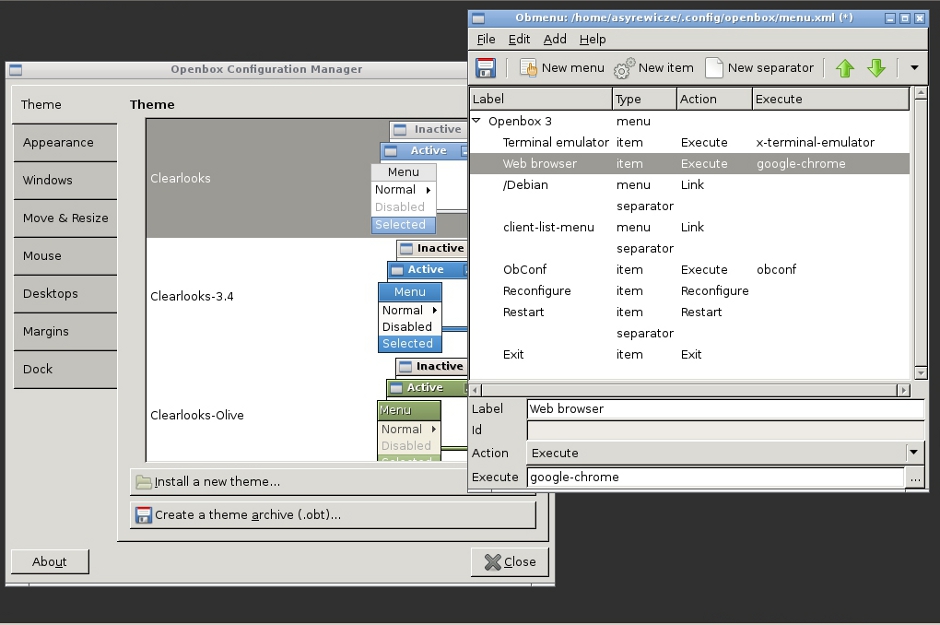
Obmenu allows you to edit the right click menu that you saw in the first image, thus you can make custom launchers, and run scripts from your Openbox menu.
Obconf is a tool that lets you tailor Openbox’s actions and feel to your liking. It comes with several built in theme options, and you can change things such as the virtual desktop behavior and mouse and window behavior.
Before I conclude this segment I would like to point out a few key points when working with vanilla Openbox.
- Applications that are not located in the menu will have to be launched from a terminal emulator like xterm (remember to append to the end of the command so the application doesn’t close when you kill the terminal window!)
- you can change desktops much like Gnome 2 by holding alt+ctrl and pressing the left and right arrow buttons, or you can scroll your mouse wheel on the desktop as well.
- There is no task manager/open window list by default in Openbox (lightweight remember?), but you can still alt+tab through your open windows.
So, this concludes our very first segment of Openbox 101. Don’t worry, there is more to come!
See you next time!